15$ Flat-Rate Expedited Shipping Canada Wide - Frais fixes d'expédition accéléré partout au Canada
Go to wishlist Wishlist

Shopping cart

Your cart is currently empty

Product image slideshow Items

  • THYRM CELLVAULT-18 RECHARGEABLE BATTERY STORAGE
  • THYRM CELLVAULT-18 RECHARGEABLE BATTERY STORAGE
  • THYRM CELLVAULT-18 RECHARGEABLE BATTERY STORAGE
  • THYRM CELLVAULT-18 RECHARGEABLE BATTERY STORAGE
  • THYRM CELLVAULT-18 RECHARGEABLE BATTERY STORAGE
  • THYRM CELLVAULT-18 RECHARGEABLE BATTERY STORAGE
  • THYRM CELLVAULT-18 RECHARGEABLE BATTERY STORAGE
  • THYRM CELLVAULT-18 RECHARGEABLE BATTERY STORAGE
  • THYRM CELLVAULT-18 RECHARGEABLE BATTERY STORAGE
  • THYRM CELLVAULT-18 RECHARGEABLE BATTERY STORAGE

THYRM CELLVAULT-18 RECHARGEABLE BATTERY STORAGE

C$34.99
Excl. tax

In stock

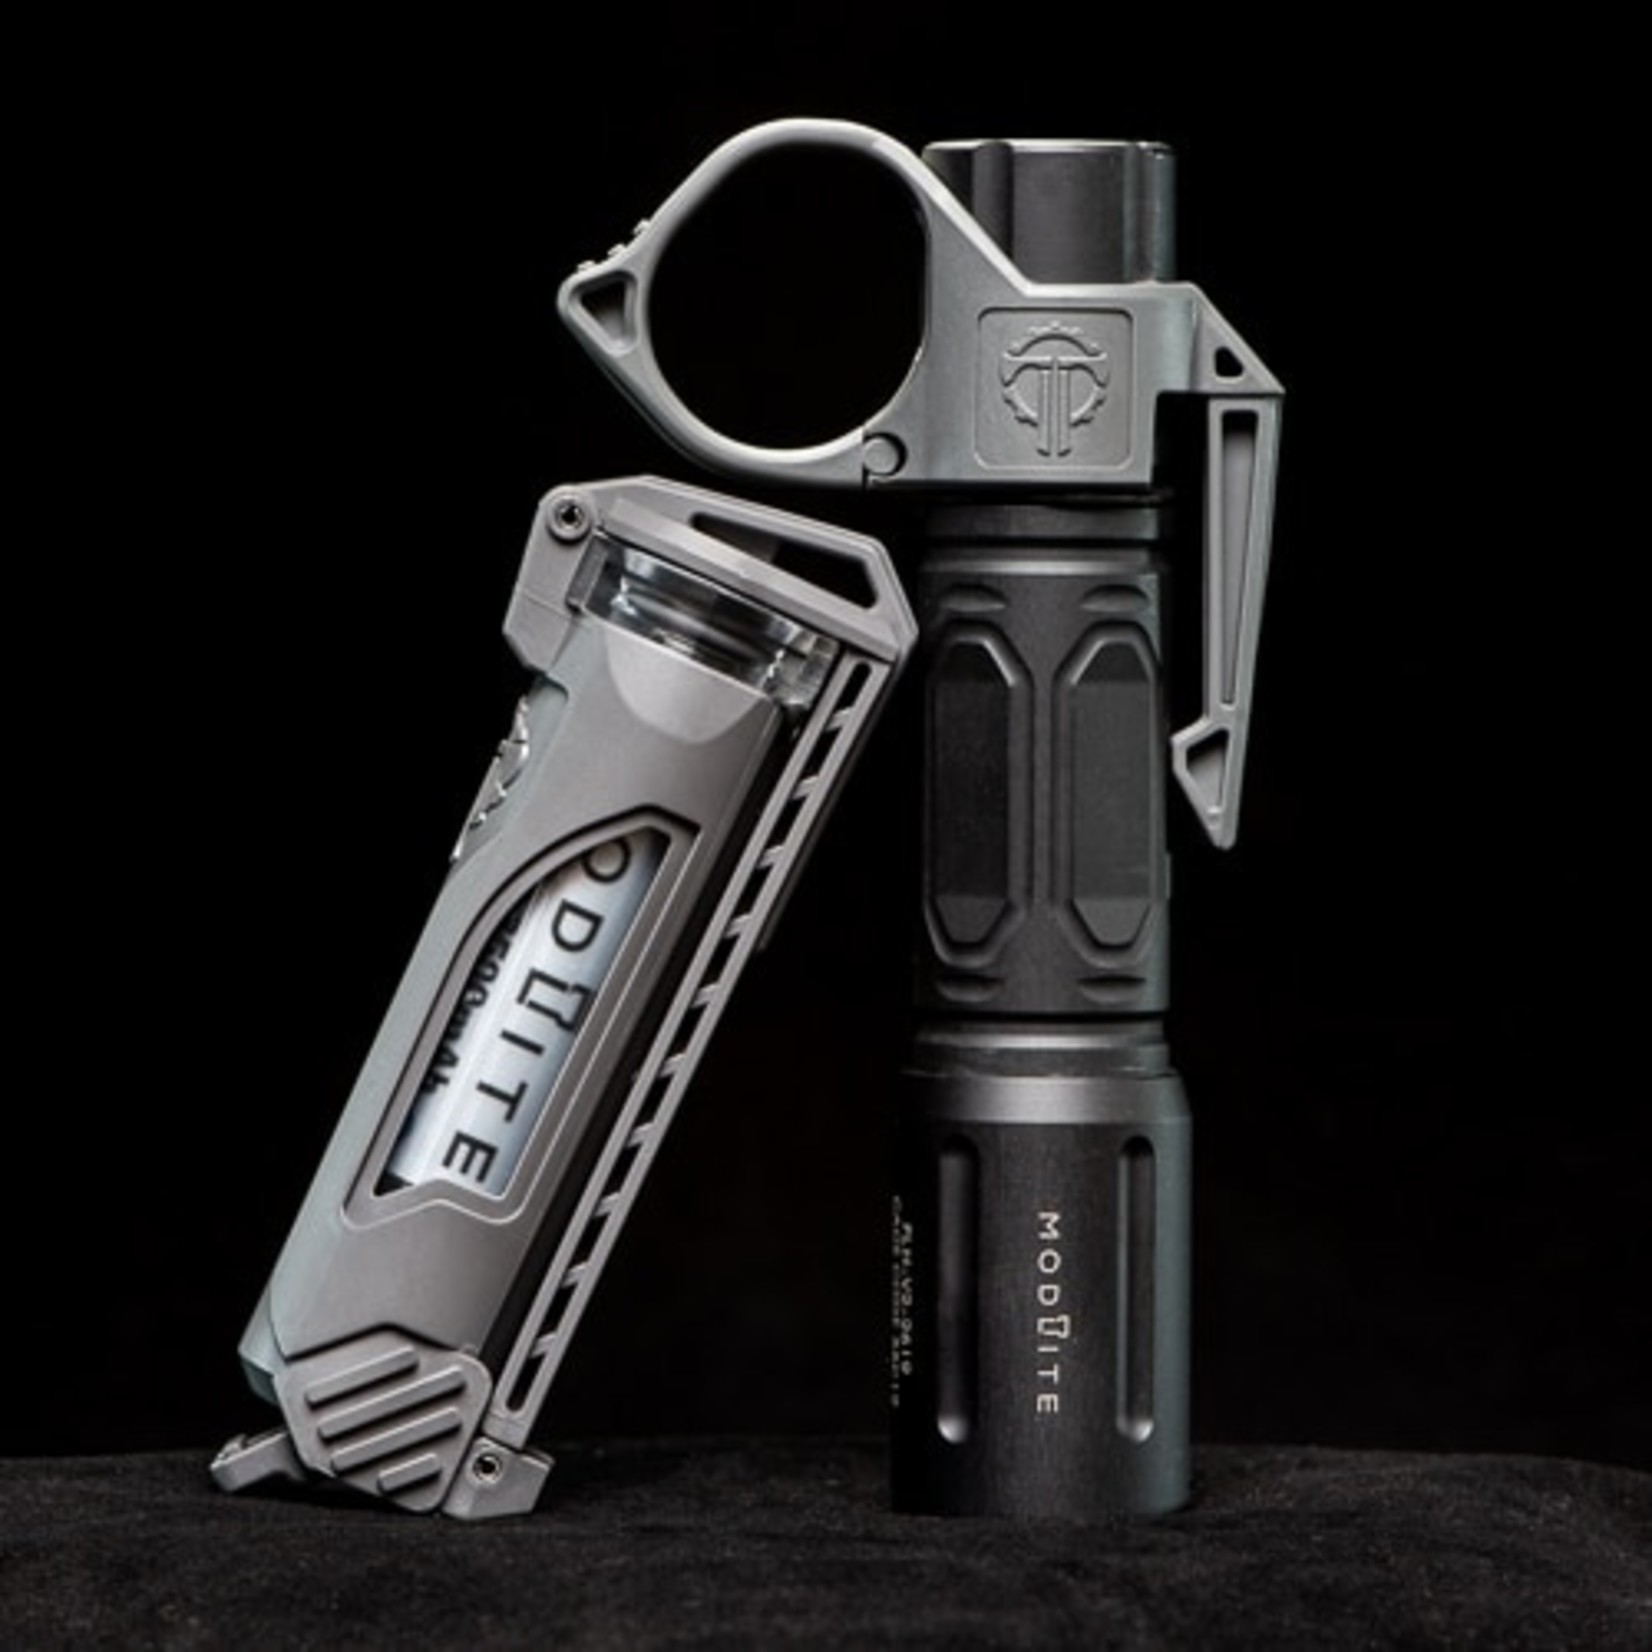
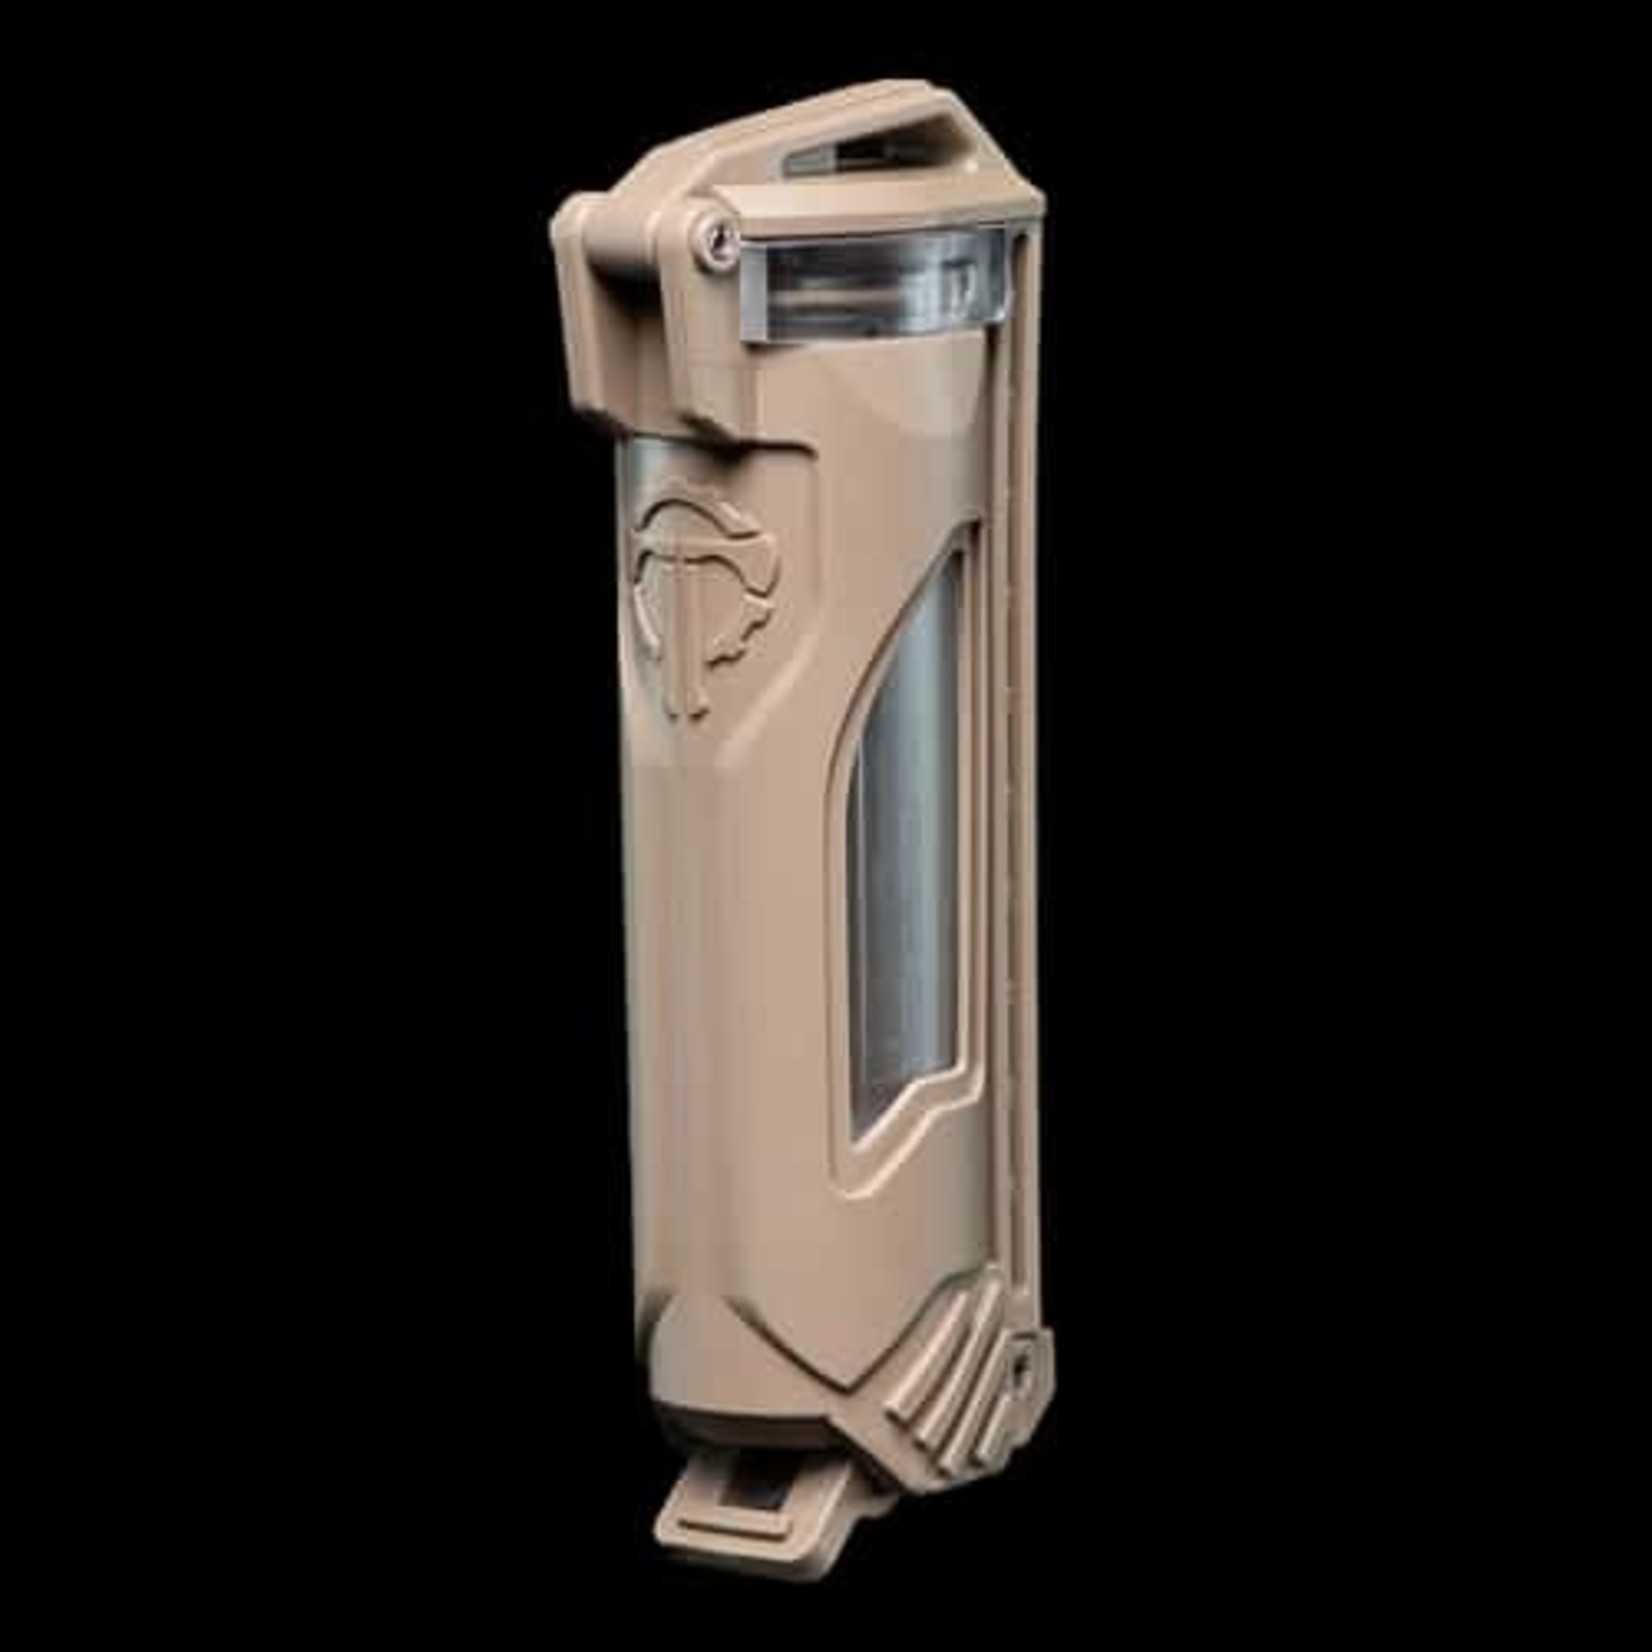
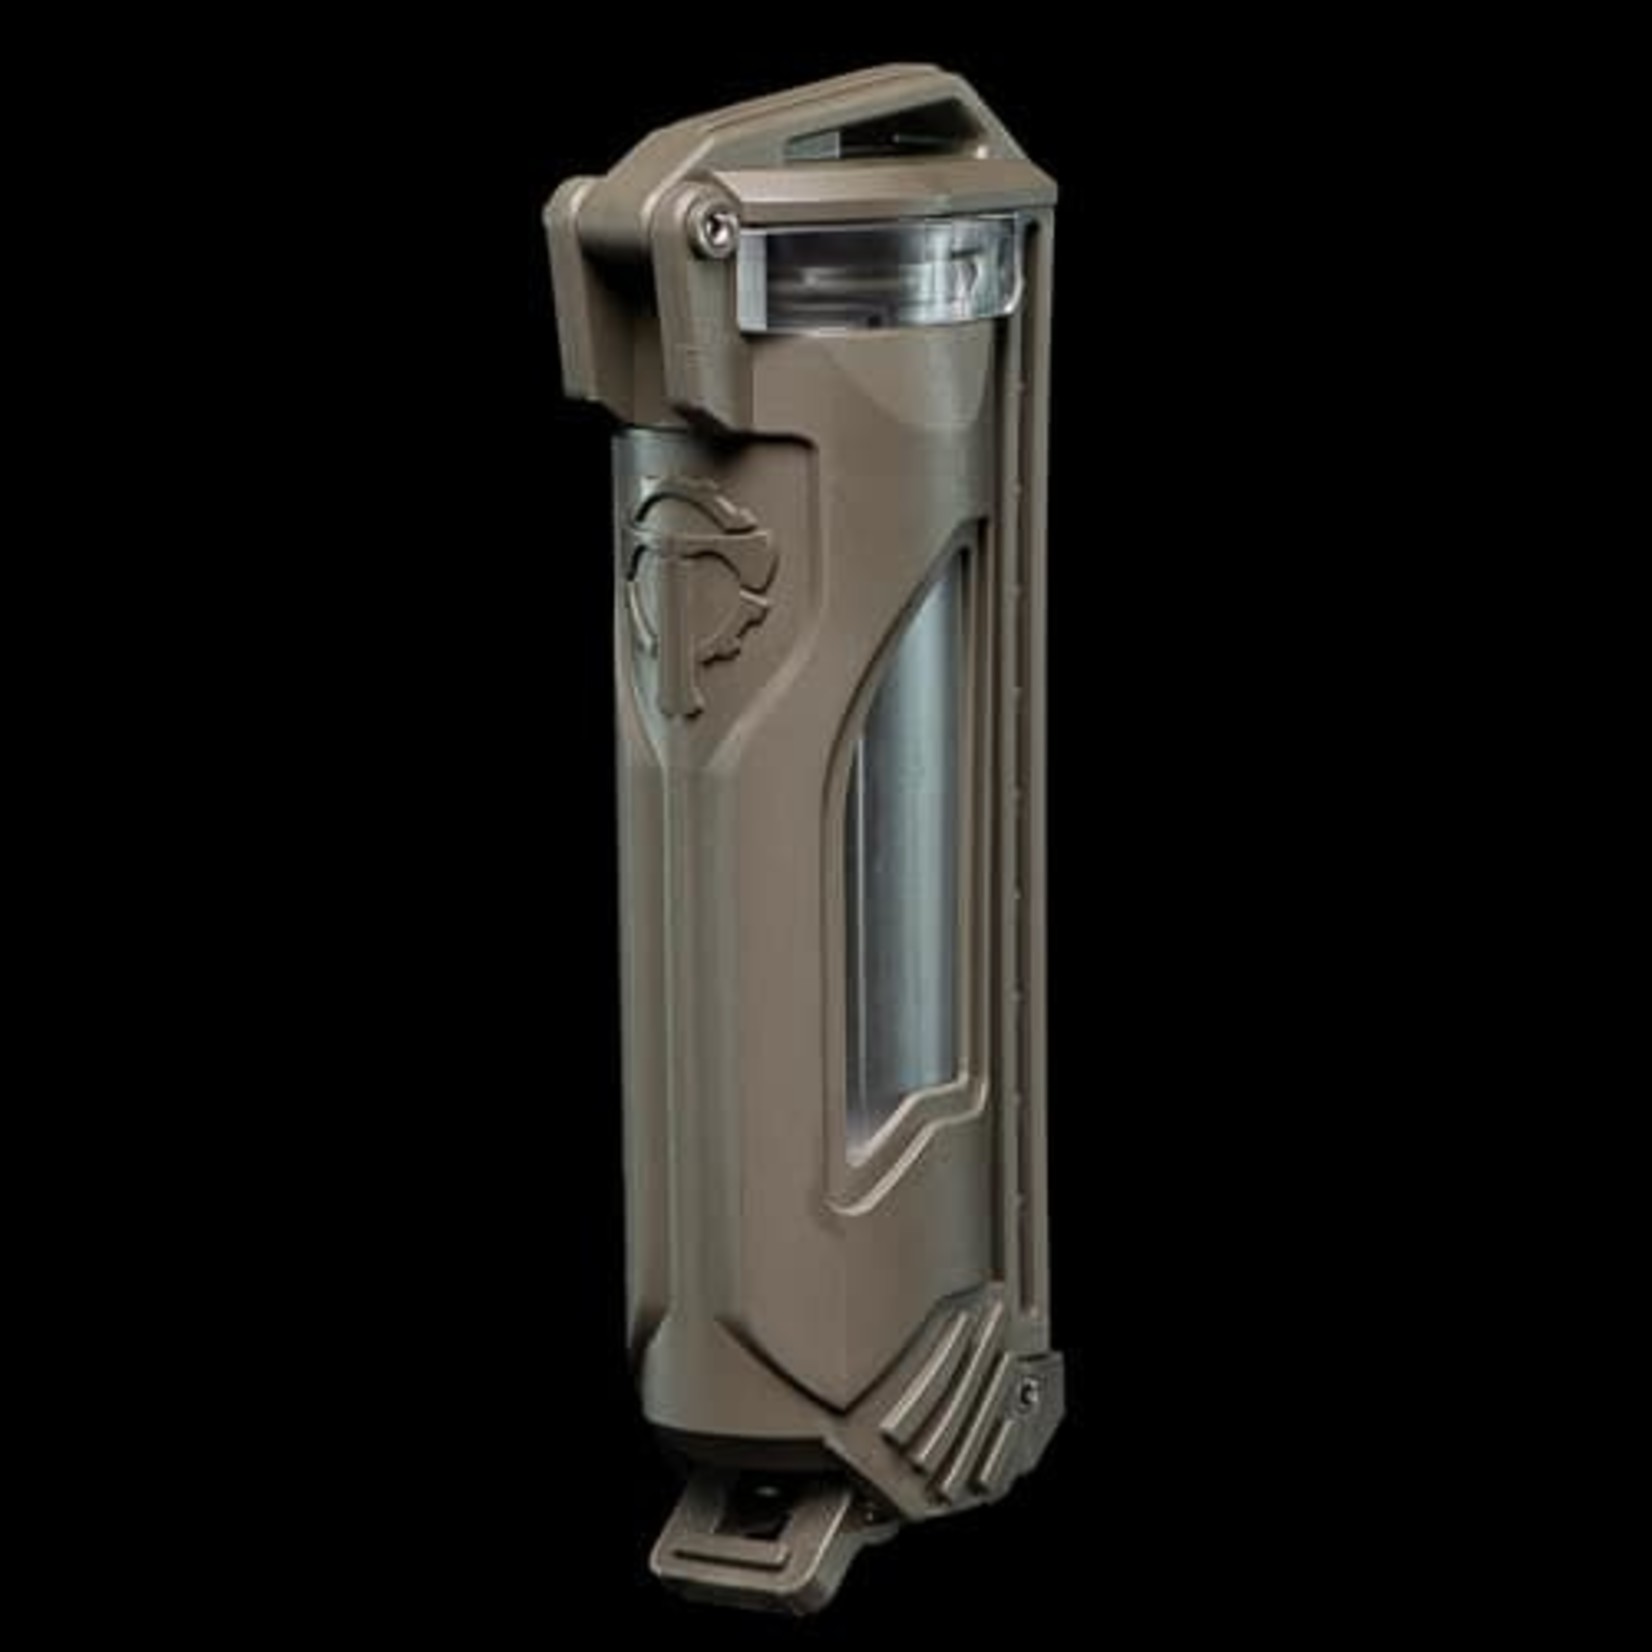
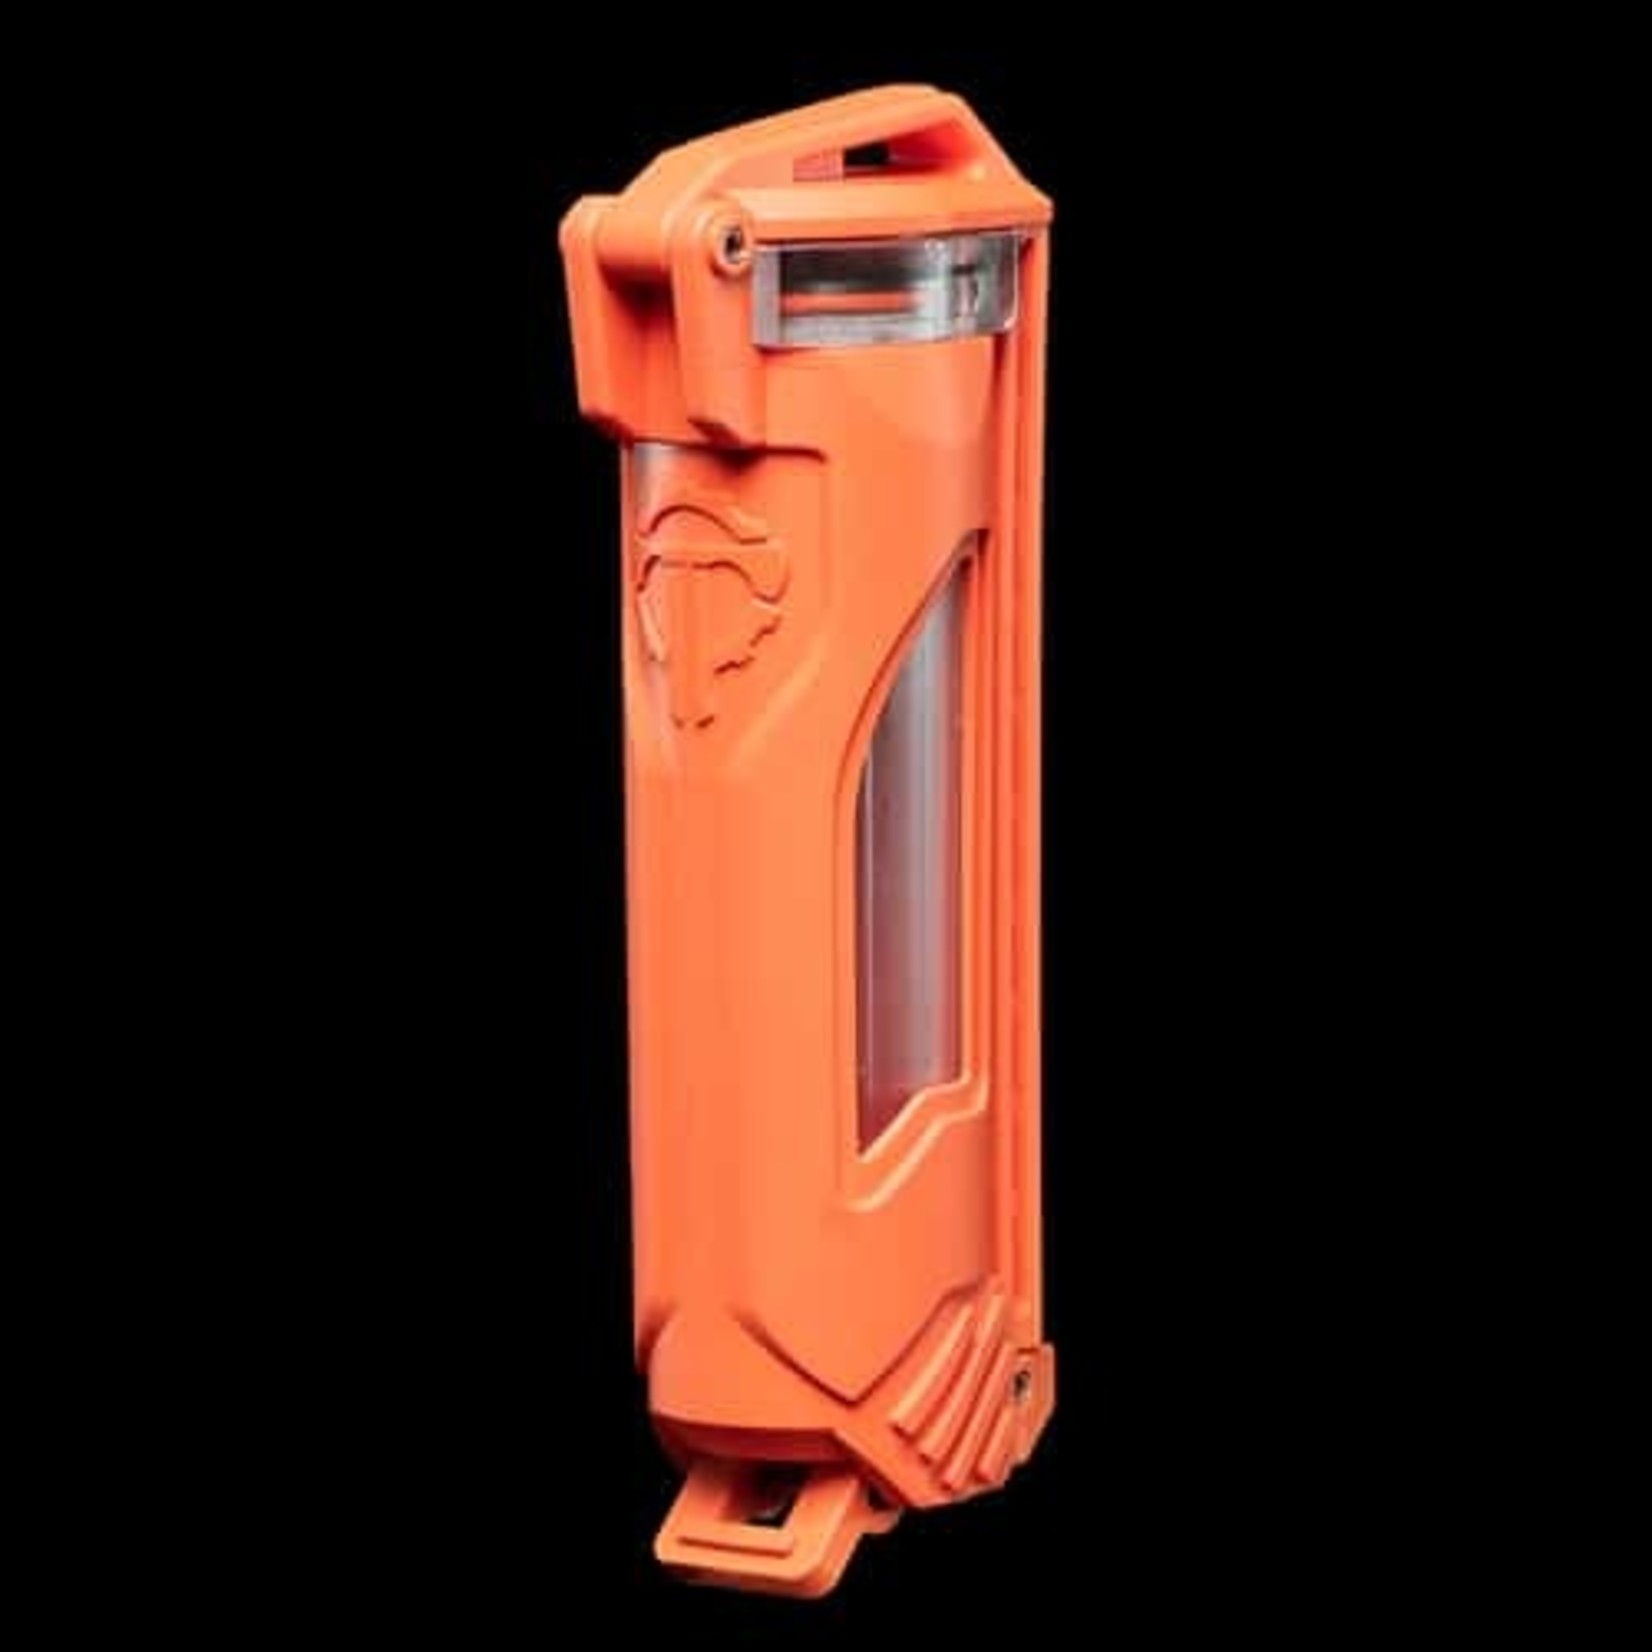
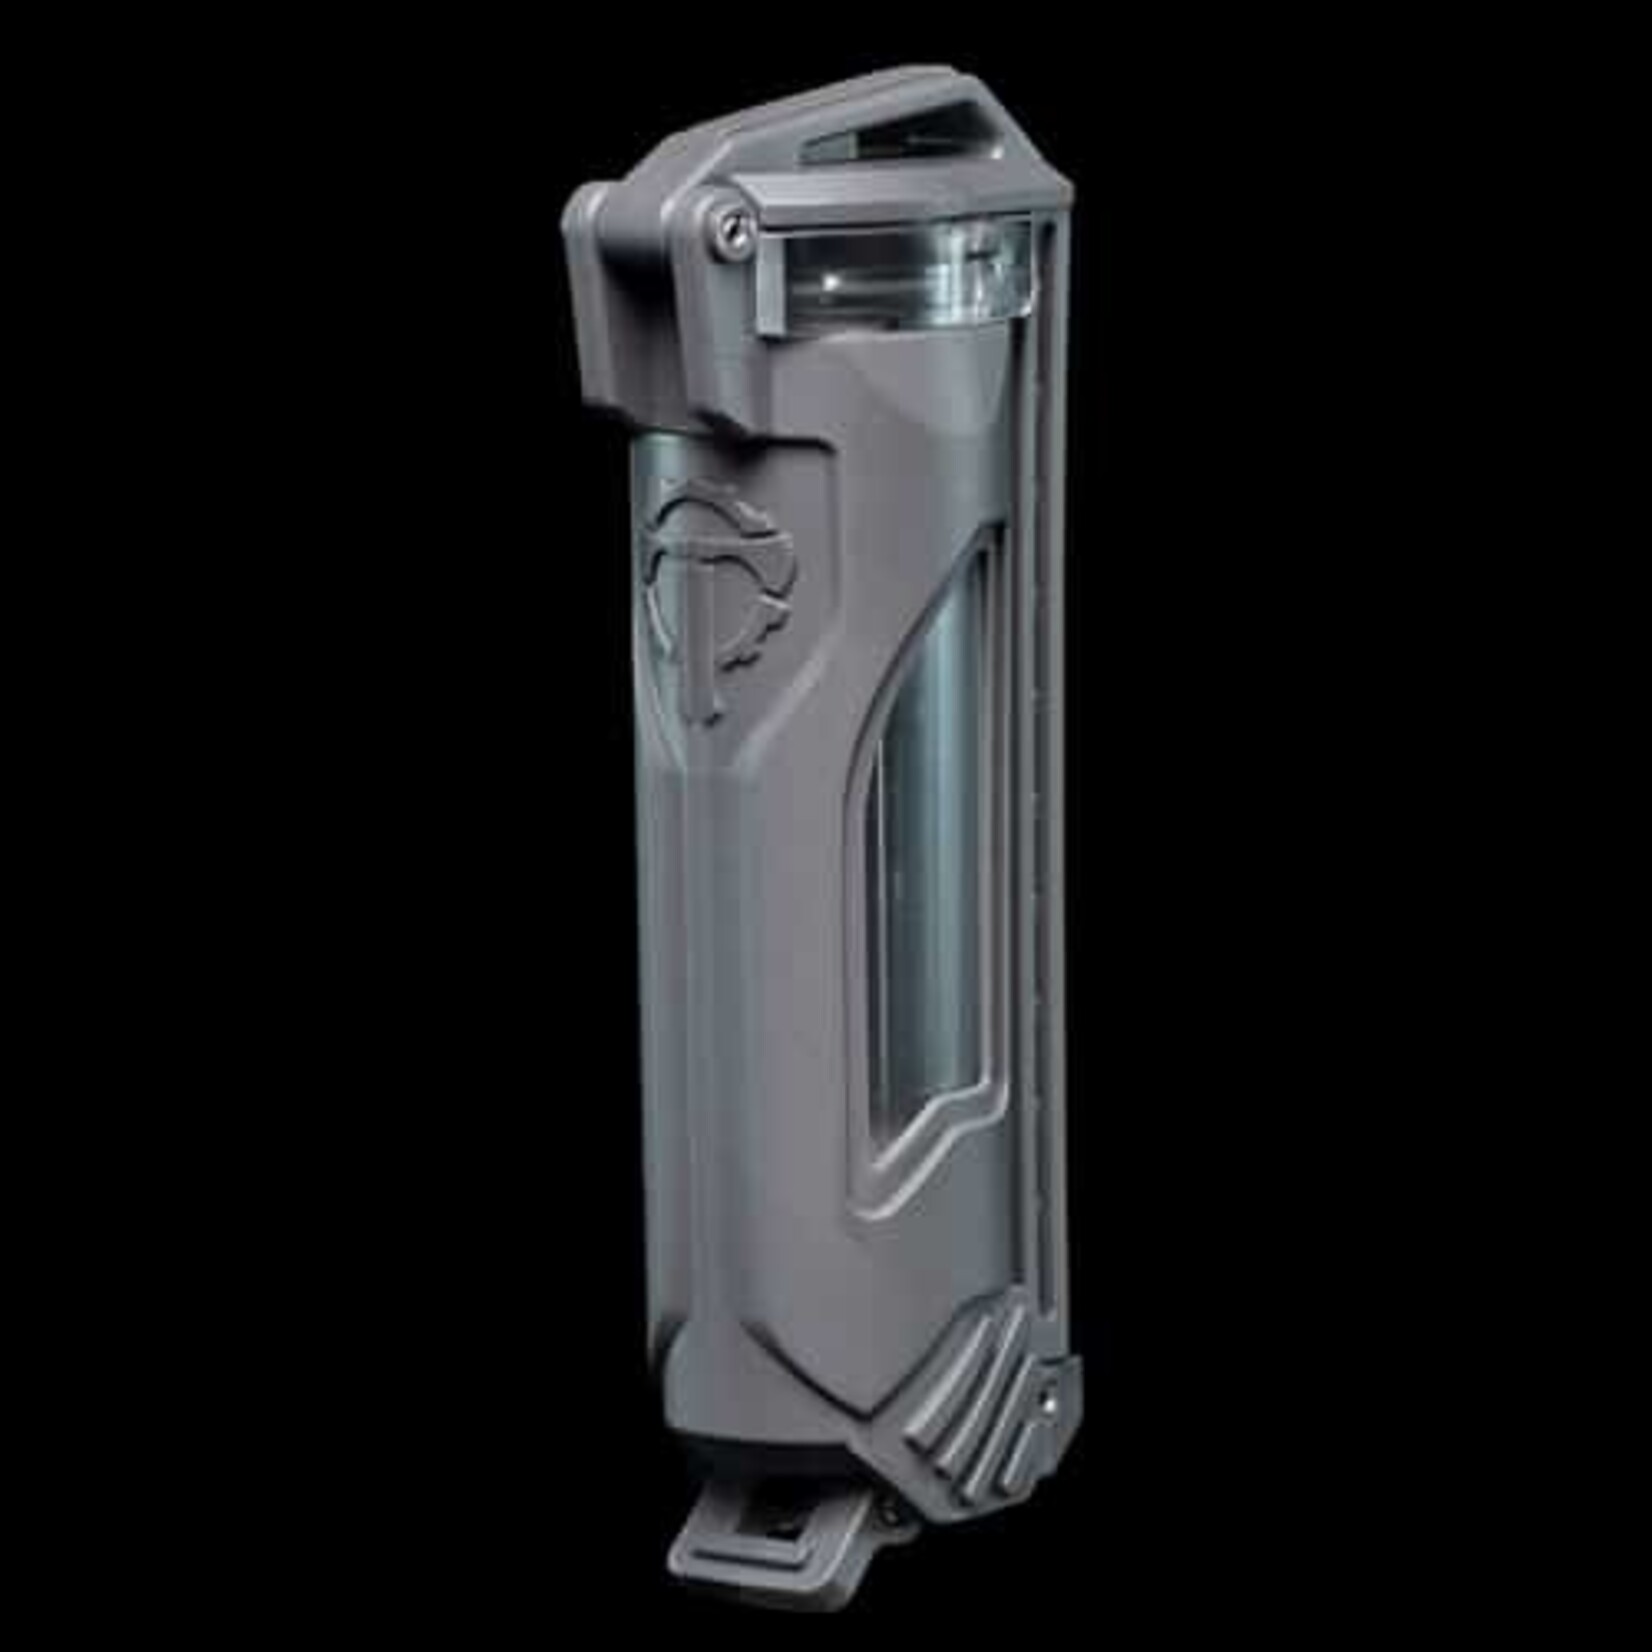
Premium batteries require protection from physical and environmental damage but need to remain accessible to keep advanced tactical lights running at full power.  The CellVault-18 takes attachable battery storage to the next level with new features like side windows that help you verify gear status, a metal locking latch, and waterproof double-layer construction. 

Features: 

  • Holds 1 18650 or 2 18350 Rechargeable Batteries
  • Waterproof O-ring seal rated to IPX7 at 2 meters for 30+ minutes
  • Folding metal latch for simple installation and positive attachment
  • Silicone foam shock absorber/noise silencer
  • Clear side windows allow for gear status checks 
  • Slim profile: less than 1 MOLLE/PALS column wide for easy integration into existing gear configurations

Designed and manufactured in the USA

Looking for premium storage solutions for CR123 or alkaline batteries?  Check out the original CellVault and its big brother, the CellVault XL

Installation:  

  1. Unlock the bottom latch and open the CellVault-18. 
  2. Fold the latch flat to reduce profile.
  3. Insert the rigid strut through MOLLE/PALS Webbing.
  4. Unfold the latch to 90 degrees.
  5. Verify foam shock absorber is at the bottom of the CellVault-18 tube. 
  6. Insert battery(or batteries) with the positive (+) terminal towards the foam at the bottom.
  7. Close the tube and latch, making sure no material is caught in the tube/cap interface. 

You might also like

By using our website, you agree to the usage of cookies to help us make this website better. Hide this message More on cookies »